

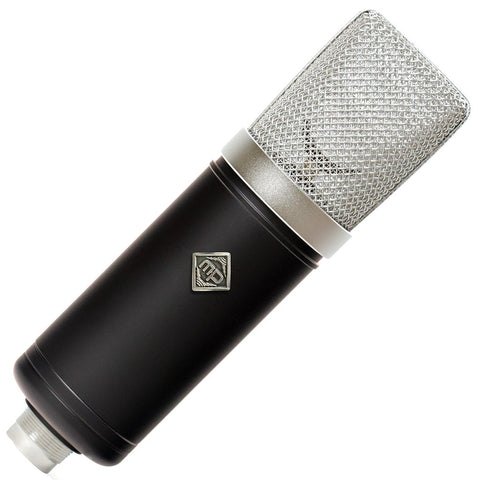
MXL 770/990 Headbasket Grille Upgrade
$ 39.00
Product Features
- Offers superior plosive and EMI/RFI protection to single-layer grilles
- Doesn't resonate like a single-layer grille
- Installs in five minutes
- Gives your modified mic a beautiful, professional look
- Available in two colors
- Custom designed to fit the MXL 990, 770, and similar microphones
Design Process
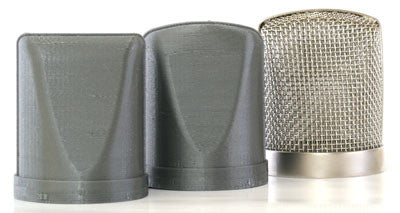
We referenced vintage microphone designs, such as the Neumann M49 and M50, as we worked through multiple iterations of 3D-printed prototypes. Ultimately, we departed from straight historical recreations to give our design a modern twist -- much as we've done with the Schoeps-based circuit in our popular 990B circuit mod kit for the MXL 990.
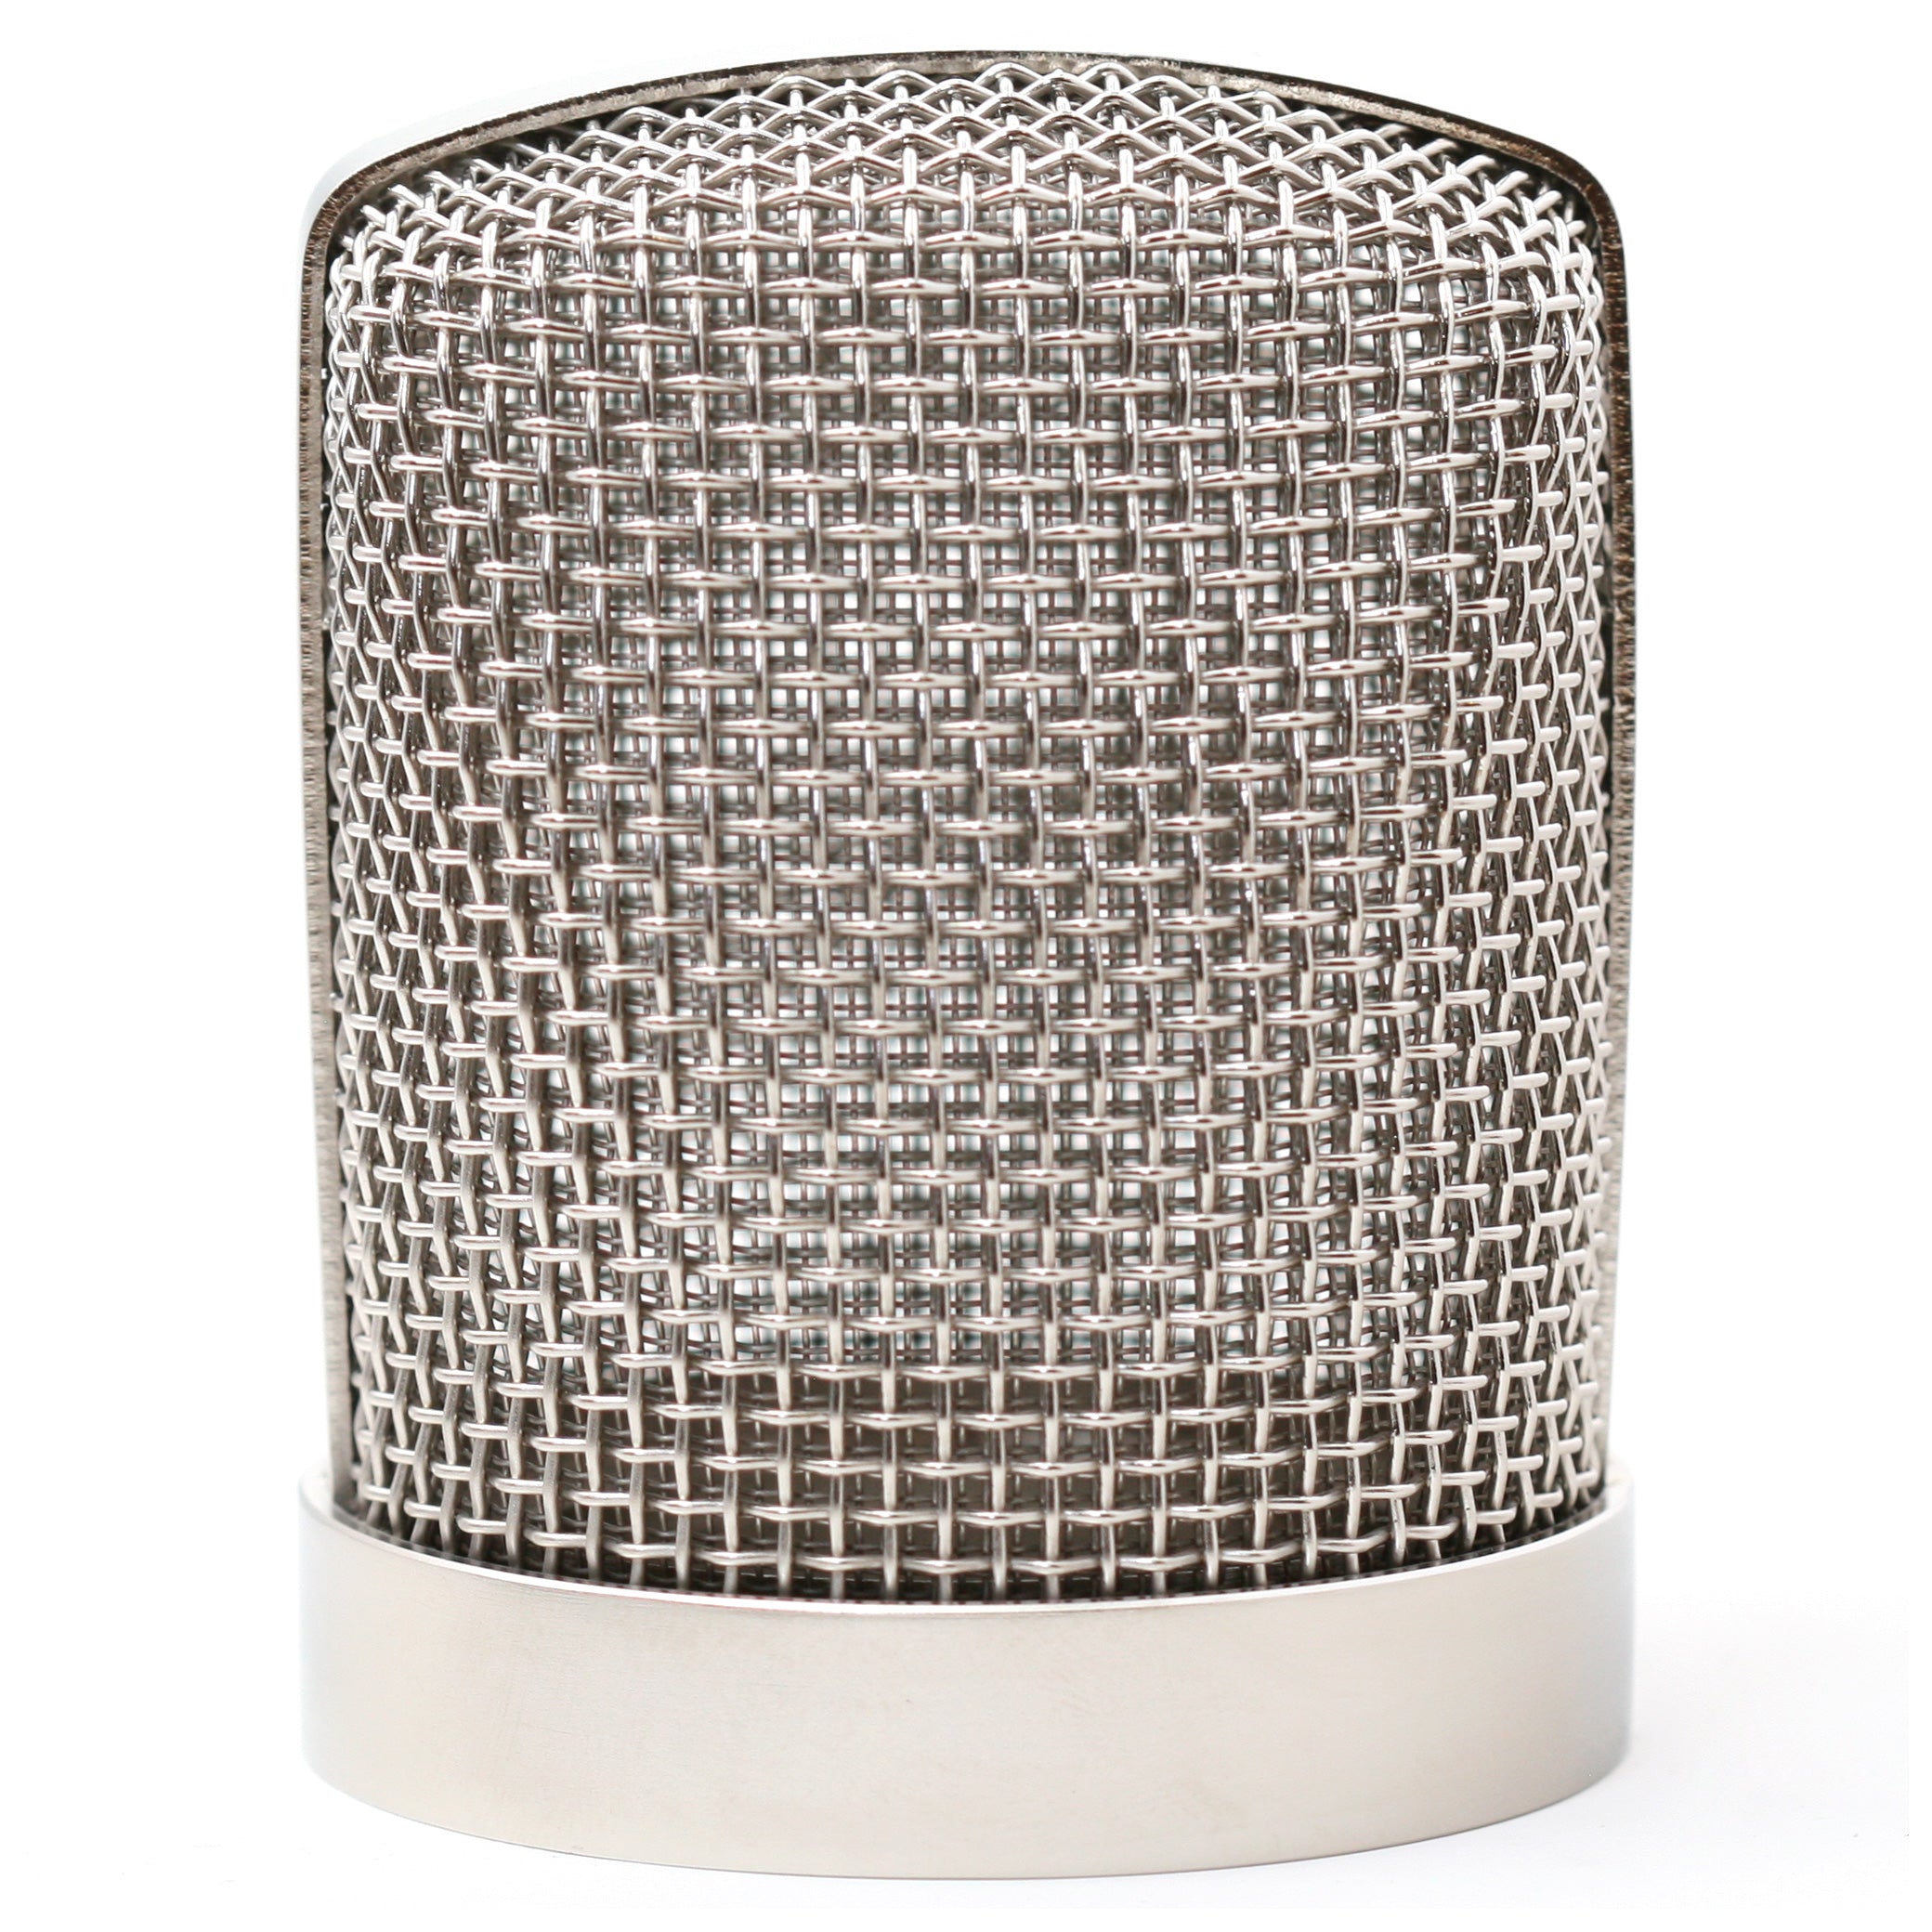
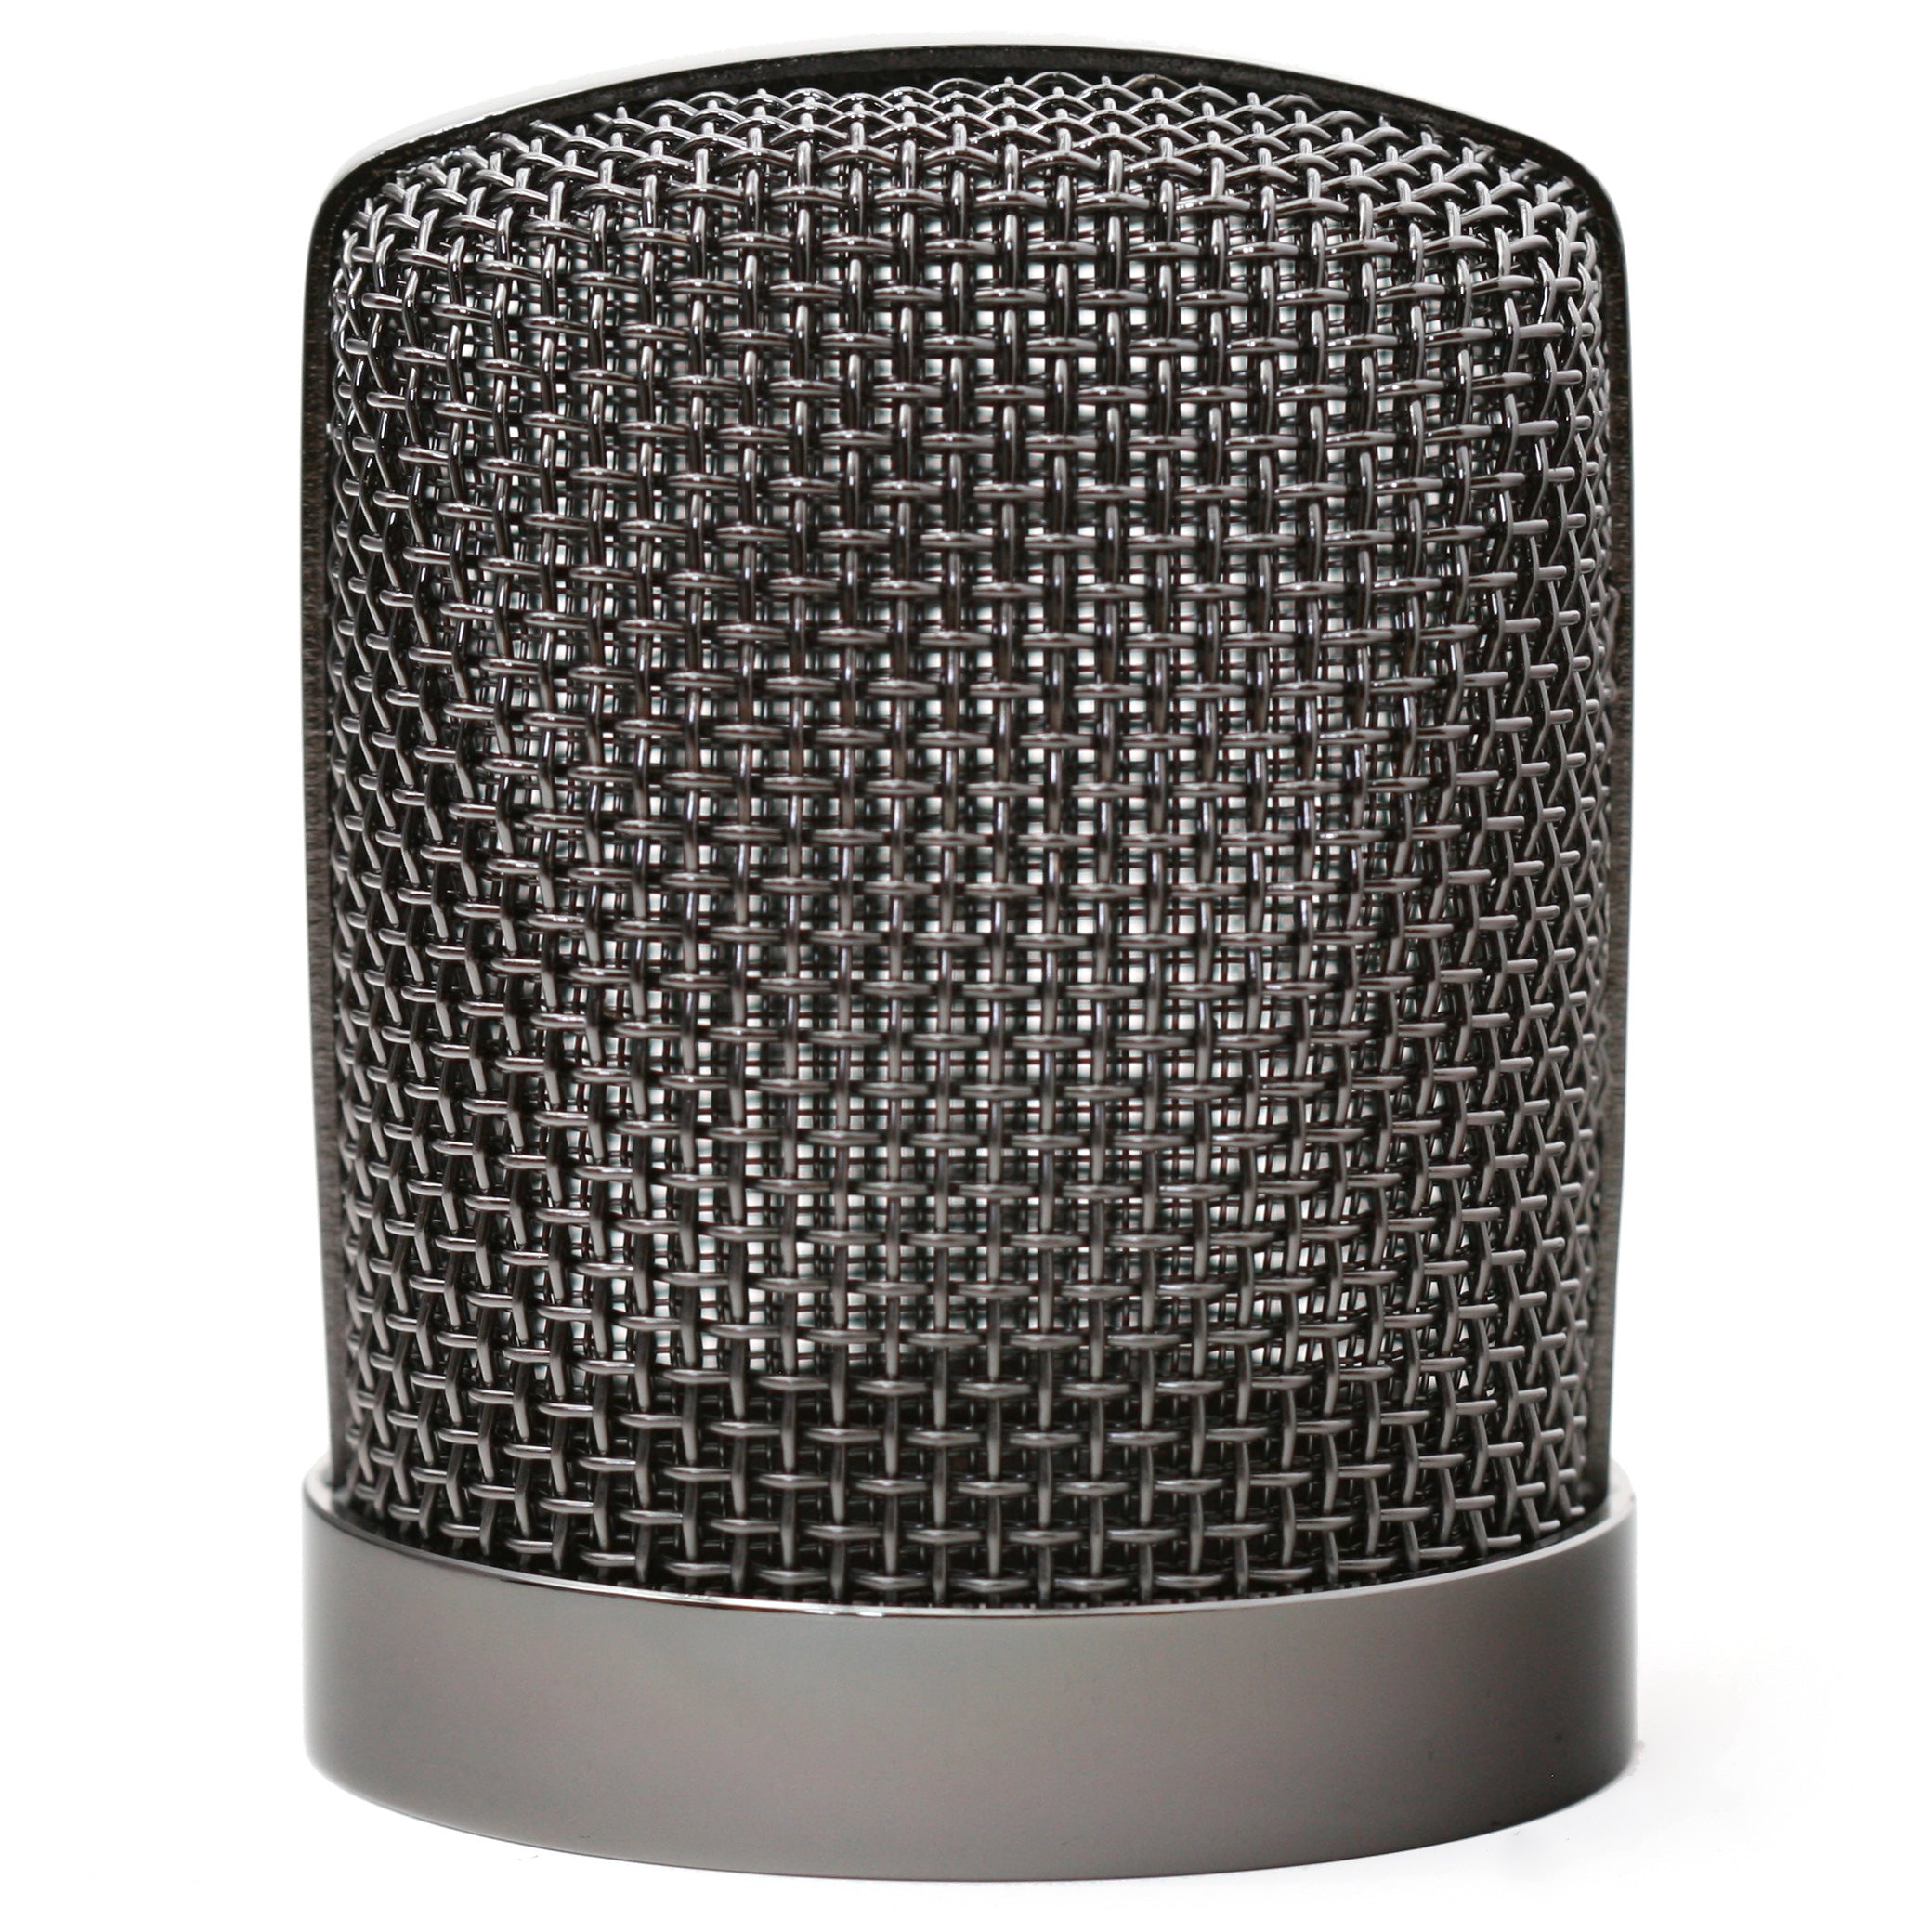
Construction
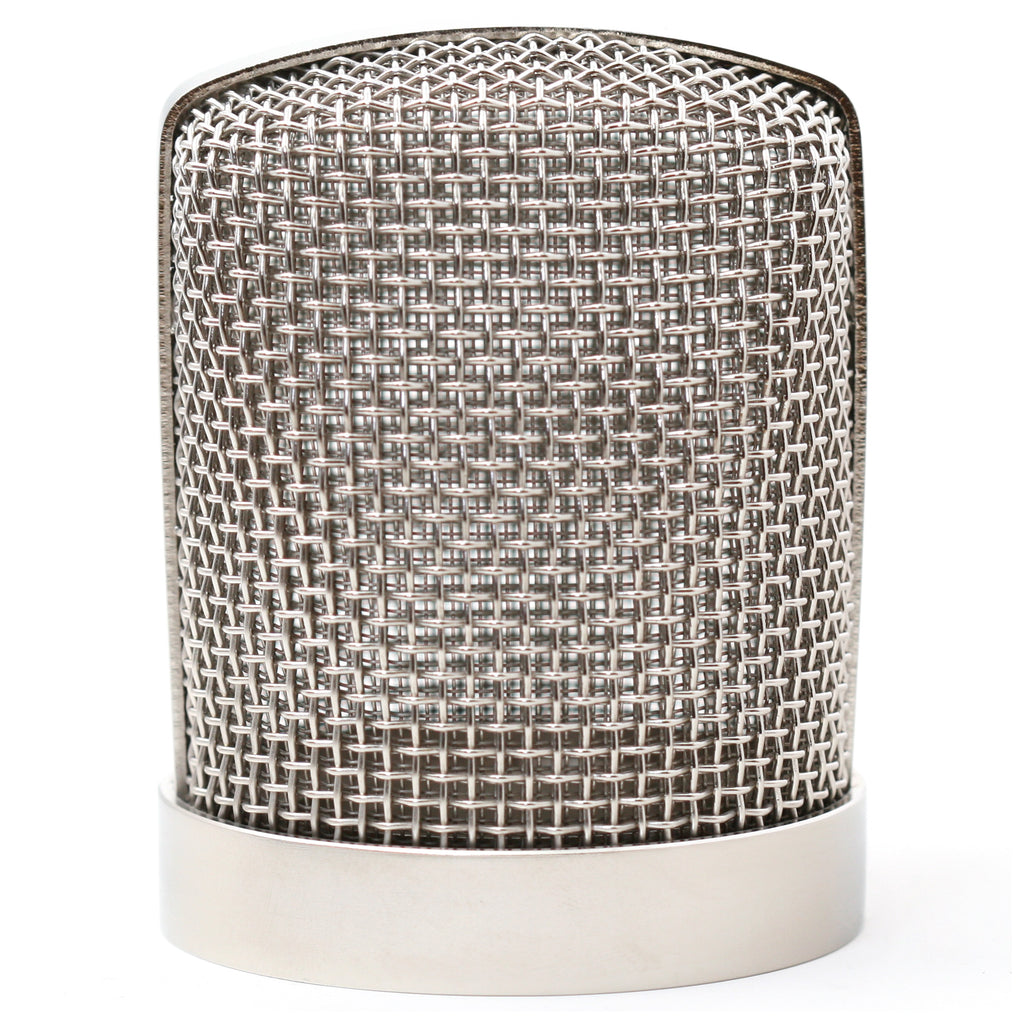
The grille material is made of 2 layers of metal mesh. We used two layers with significantly different gauges, as this helps reduce resonance (which is an issue we've seen with single-layer mesh grilles). The combination of two different meshes also strikes the best balance between plosive/EMI/RFI protection and acoustic transparency.
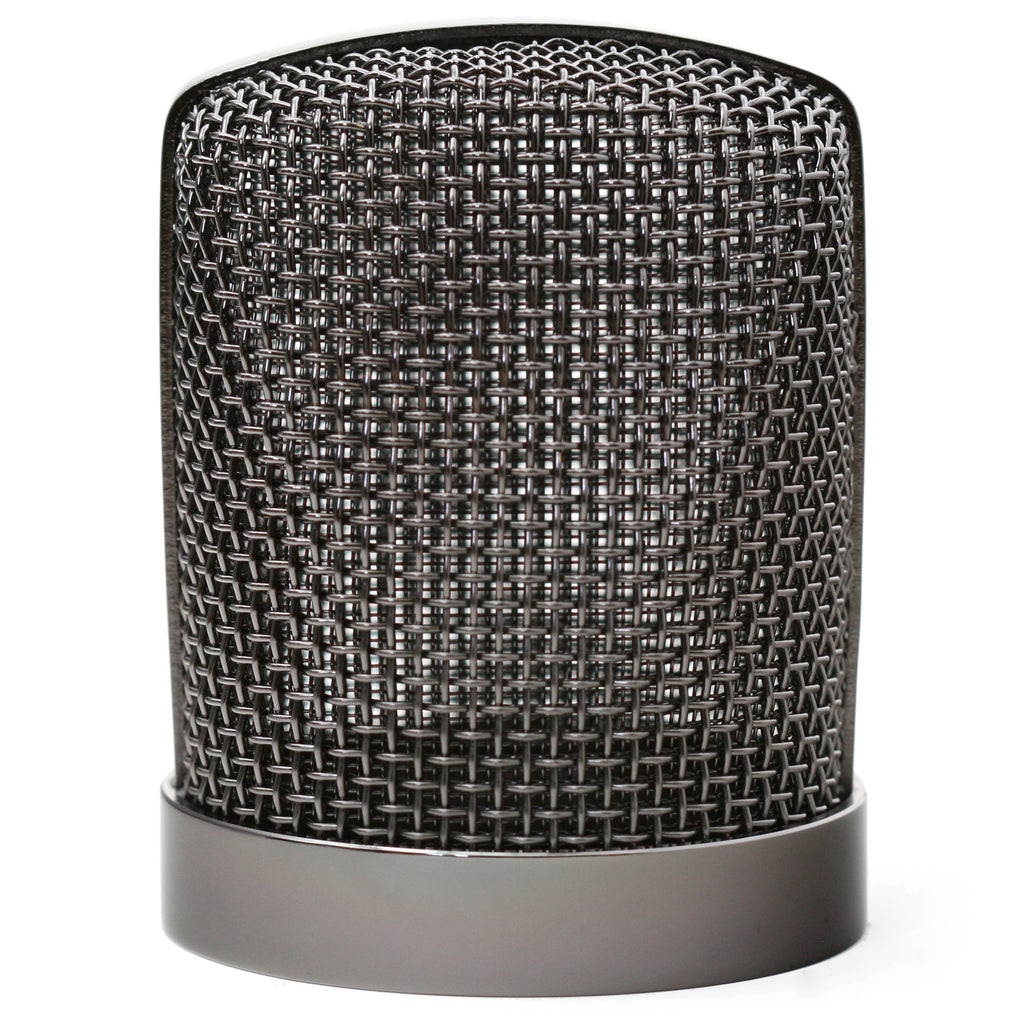
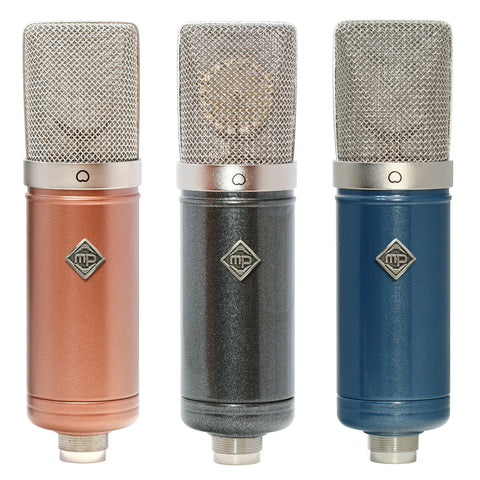
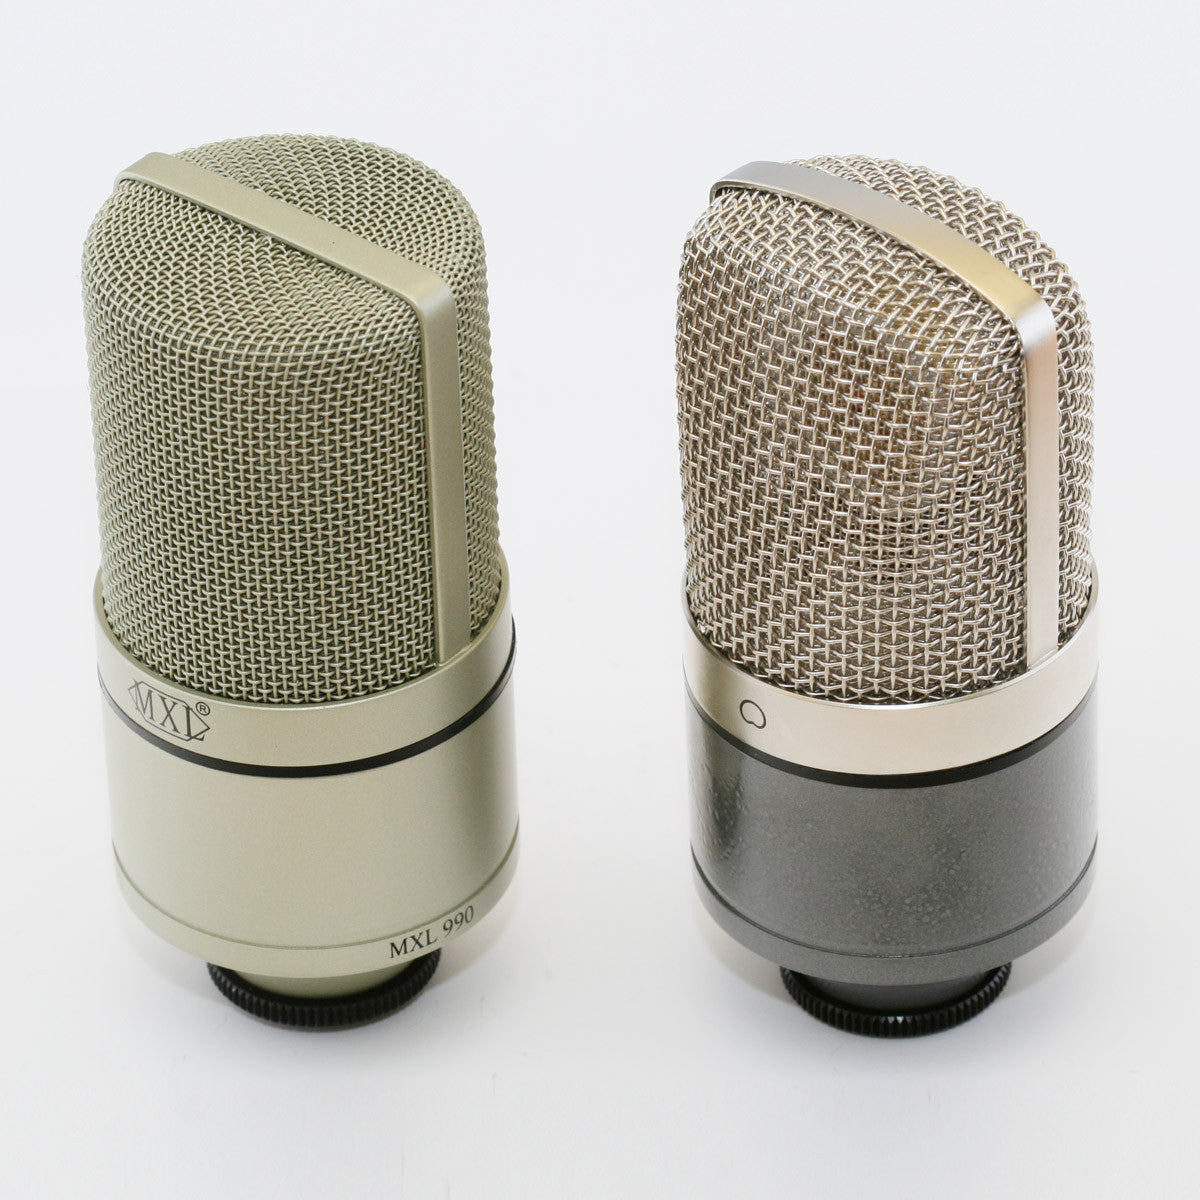
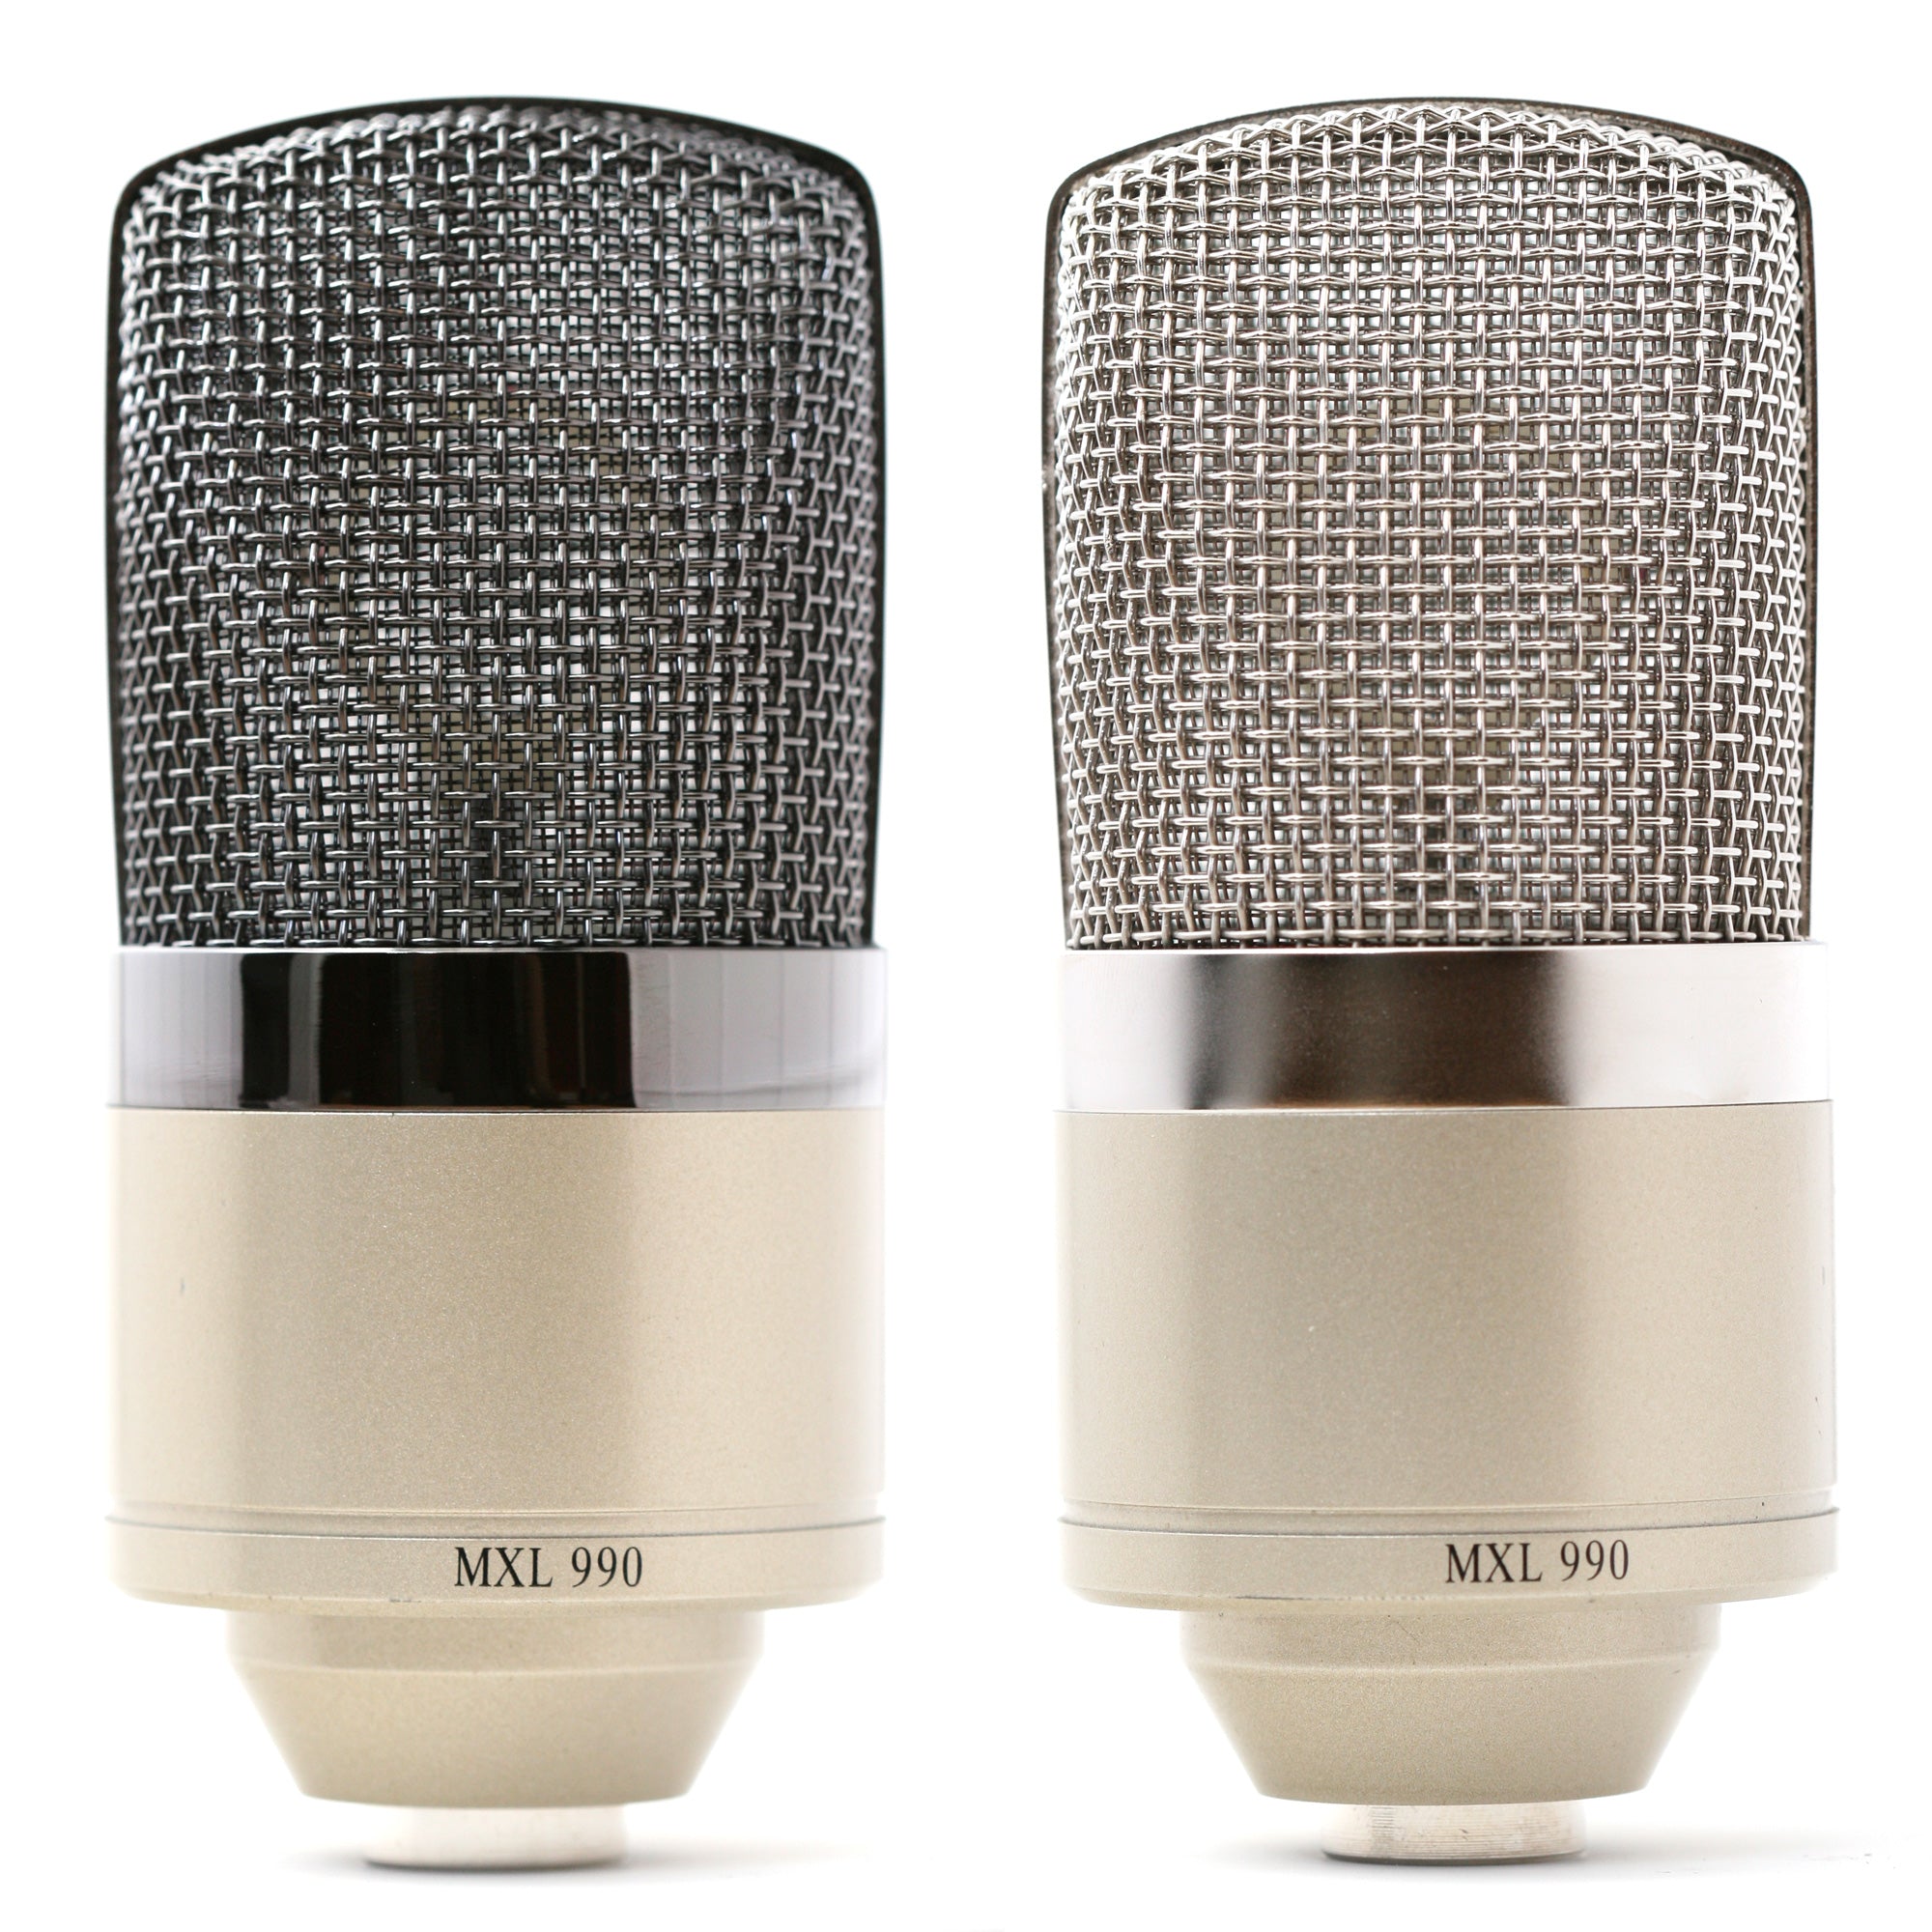
We offer two colors: satin nickel and black chrome.
These grilles are not marked with a Cardioid symbol.
Compatibility
This grille fits the MXL 990, MXL 770, MXL 990S, and Monoprice 600800.
Installation
This headbasket will install easily onto the MXL 990 ; you'll need a small screwdriver and about 5 minutes' time.
- Unscrew the threaded black nut from the base of the microphone, if it is present.
- Unscrew the lower half of the mic body.
- Remove the two M2 machine screws that attach the circuit board to the rest of the microphone. Carefully remove and set aside the plastic or metal standoffs sandwiched between the PCB and the metal plate above.
- Slide the mic chassis and capsule assembly out of the headbasket, taking care to not bang the capsule into anything.
- Insert the capsule and chassis into the new headbasket.
- Replace the two machine screws and standoffs.
- Reverse the earlier steps to finish reassembly.
- Admire your microphone's classy new grille!
DIY Microphone Body Painting
We strongly recommend painting the 990's body, to remove the sickly "champagne" green color. Here are some tips for how to paint a microphone body:
- Remove the body from the microphone as described above. You do not want to get paint on the grille or capsule.
- Lightly sand the body to remove any glossy finish.
- Wash it thoroughly, then dry with a lint-free cloth. Don't touch the surface with bare fingers at this point; keep all oils away, as they will interfere with paint adhesion.
- Mask off the top recessed lip of the body (which slides into the headbasket's rim), and the threaded area at the bottom of the cylinder.
- Spray it with a high-quality enamel.
- For best results, remove the masking tape around the recessed rim before the paint fully cures.
- Let the paint cure for 48 hours before reassembling the microphone.
Alternatively, you could take the body to a local powder-coating shop. We recommend flat finishes, rather than glossy. Ask the shop what they'll be shooting in the next week, as it will cost less if you use a common color that they use frequently.