Best Soldering Tools and Accessories for DIY Audio Projects
This page contains a list of our favorite DIY tools. We've broken it into categories to highlight the essentials. Please read the descriptions to determine how each of these fit into your DIY workflow.
Essential DIY Audio Tools
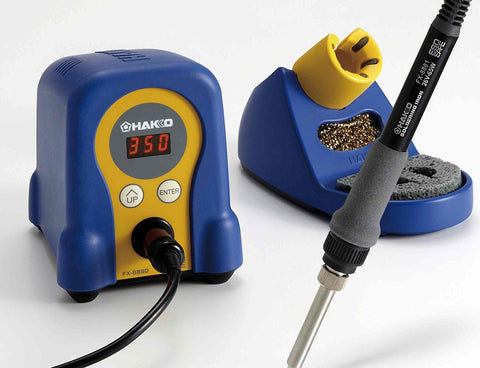
The most important DIY tool is a good soldering station. We use and recommend the Hakko FX888D Soldering Station.

Your iron needs a small tip. Those giant chisel tips from Radio Shack will make a mess of your microphone's circuit board. Try the Hakko T18-C08.

Our go-to solder for most audio projects is Kester 44, a resin-core leaded solder with a relatively fine gauge (0.031'' / 0.8mm). It wets and flows easily, and cures with a shiny finish that makes it easy to spot bad joints.
If you prefer lead-free solder, here is Kester's lead-free equivalent solder (24-9574-1402 K100LD). We use this in the shop for RoHS builds.
You will need to clean the resin from the PCB afterwards; see the flux remover below.
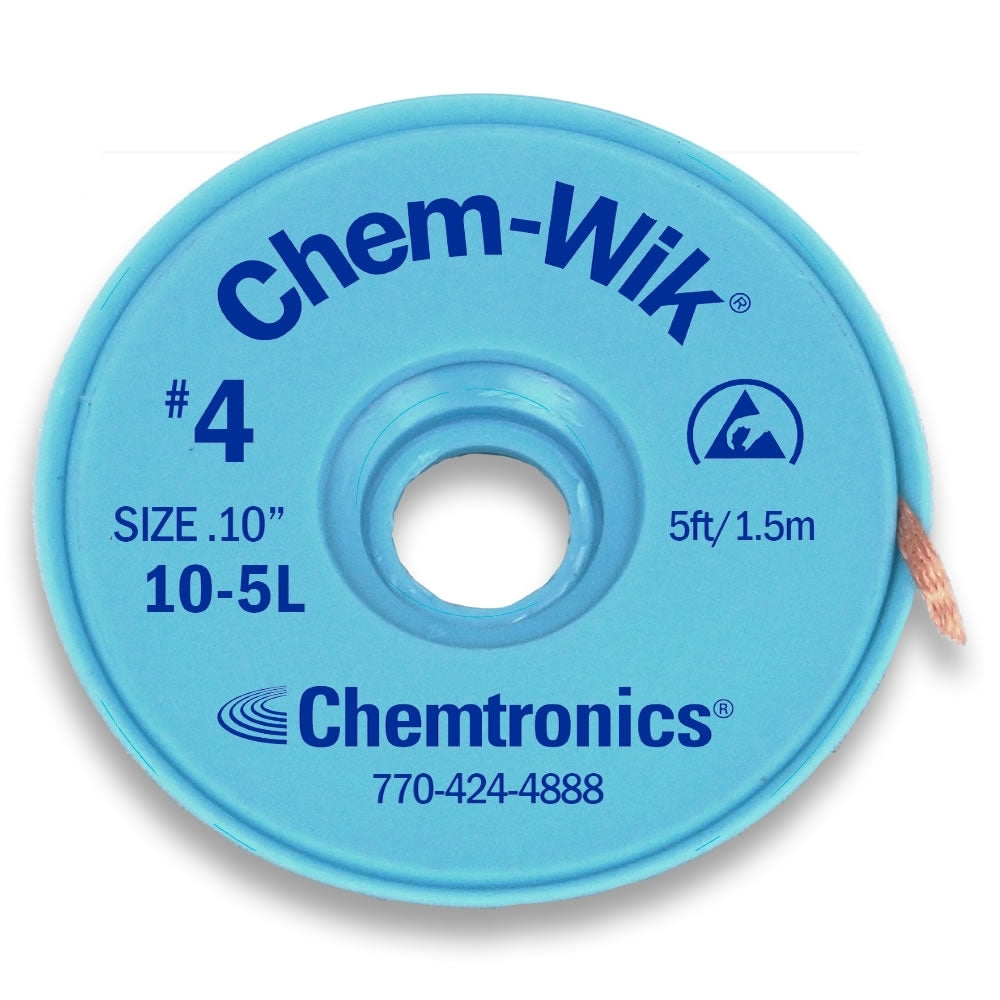
The best way to clean up a solder pad after removing a component is to use solder wick. We like this one because it is impregnated with flux, which helps solder flow more easily.
To use this, lay it flat atop the solder pad. Hold the iron at an angle so that the angled side of the tip is flat against the wick, which is flat against the board. Using the side of the soldering iron's tip helps the transfer of heat.
Whether this tool is truly essential depends on whether you'll ever need to remove solder. Chances are, you will, and this is the easiest way we've found to do it.
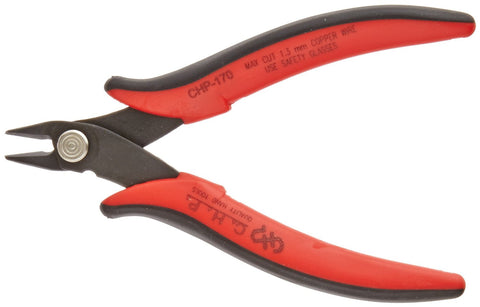
We used to recommend a generic $5 side-cutter, but the blade didn't hold up to 3 years of regular use. We have upgraded to the Hakko CHP-170. You'll need this tool to trim component leads after soldering.

This set of precision Wiha screwdrivers is ideal for DIY audio builds. It includes three Phillips head drivers and four slotted drivers. The shafts are narrow enough to fit into XLR housings with recessed set screws. The blade material is robust enough to withstand years' worth of use. At least two of these screwdrivers have touched every microphone we're built over the past 2 years.
The red end cap spins, which makes these fantastic for one-handed operation. (You'll see what I mean when you try one.)
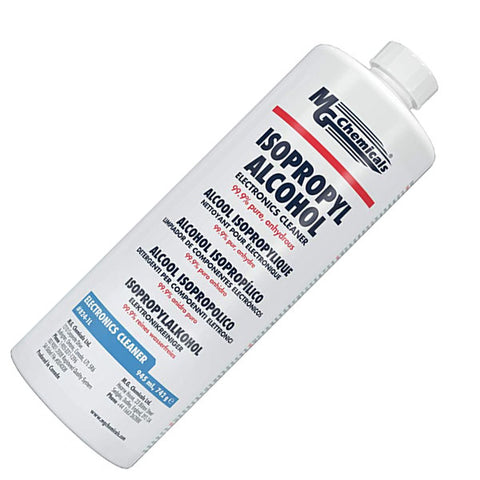
Our favorite way to clean PCBs is to wet a folded paper towel with 99% Isopropyl Alcohol, then scrub. The towel will shred itself against the solder joints, and the shredded bits of towel carry away the flux residue. This technique works shockingly well.
Pro tip: watch a video about the best way to use this solvent to clean your PCBs.
Another pro tip: wear gloves (scroll down for a specific recommendation).
If you prefer cleaning PCBs with a brush, we recommend using this aerosol spray: Techspray Ecoline Flux Remover.
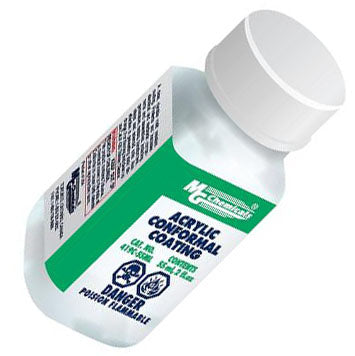
We find we get better long-term results if we protect high-impedance joints with conformal coating. This seals moisture out of the solder joints where the capsule wires connect to the JFET/tube.
Our favorite product is MG Chemicals 419 Acrylic Lacquer Conformal Coating. We've used 419C and 419D; both formulations work well. The primary difference is that 419C dries faster (3 minutes vs 10 minutes).
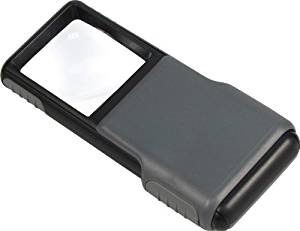
If you struggle to read part numbers on small components, you'll need a magnifying glass. We are fans of the Carson 5x LED Lighted Slide-Out Aspheric Magnifier -- so much so that we became a Carson dealer (which means you can add this magnifier to your MicParts order, and receive it at the same time as your microphone kit). It is compact, and works very well. We keep it on the bench, right next to the soldering iron.
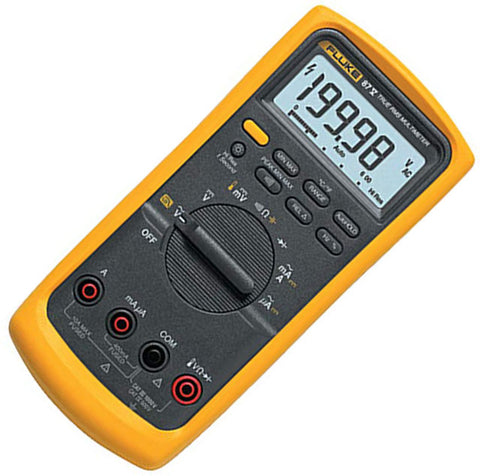
The Fluke 87/V Digital Multimeter is our go-to DMM. It is expensive, but has been extremely reliable, and we trust it. It has 10M Ohm input impedance, which is important for taking accurate DC voltage measurements inside a mic circuit.
If your budget doesn't allow for a professional-quality DMM like the Fluke, take a look at the Mastech MS8268 MS8261 Series Digital AC/DC Auto/Manual Range Digital Multimeter ; it's what we started with, and should get you through our microphone builds just fine.
Optional DIY Tools and Accessories

If you build any of the circuit kits sold on this site, we recommend using a fume extractor. Soldering fumes are toxic. Even if you're using lead-free solder, the flux fumes are toxic.
Inexpensive fume extractors do not work very well. But we recommend using one anyway, because any amount of filtration is better than none -- and because the $70-$100 extractors do not seem to work any better. Here's our favorite inexpensive fume extractor: Fume Extractor with Charcoal Filter.
Invest ten minutes positioning the fan, your circuit board, and your lighting so that the fumes are pulled into the fan without interfering with your ability to see or reach the PCB. The fan will have to be within two inches of the PCB, and possibly elevated above it, and possibly tipped forward to effectively pull fumes through the filter.
If you have deeper pockets and want a superior fume extractor, we use and recommend the Hakko FA430.
De-soldering is difficult. There are many ways to do it, none of which are guaranteed or wonderful. Most people don't ever do enough of this to get good at it -- but that's a good thing, really. If you don't solder a component incorrectly in the first place, you probably won't need to remove it.
These spring-loaded solder suckers can be very effective. They require a steady hand and a good sense of timing. They're inexpensive, and it's worth having one on the bench if you find yourself needing to remove components from a PCB, or if you need to clean up a joint that got too much solder. (The alternative is solder wick, linked above; that's what we use, primarily.)
The spring pump we have used and recommend is the Jonard DP-200.
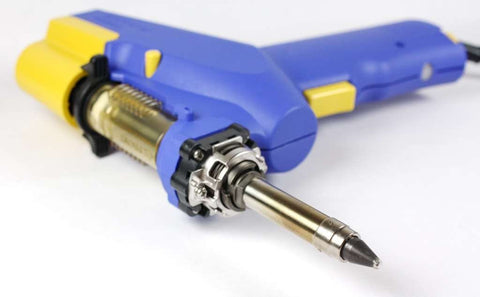
If you are depopulating a large board, you'll appreciate having something faster than a spring-loaded solder sucker. We recommend the Hakko FR300-05/P Desoldering Tool. This is the upgraded version of the old Hakko 808, which we use and appreciate.
Note - if you're building one of our microphone kits or circuit kits, you normally would not need this tool. These are great for REMOVING many components, but are of no use when populating a new PCB.
Also worth noting is that these electric vacuum pumps are only as good as they are clean. They work amazingly well the first time, but performance deteriorates as the device saturates with flux and solder. Buy replacement filters and parts, and plan time for regular maintenance. (The Hakko 808 has become so finicky that we mostly just use solder wick instead now.)

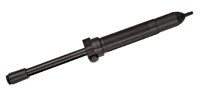
For especially stubbornly plugged through holes, we sometimes resort to these desoldering needles. When a through-hole is clogged with solder, place the tip of the smallest needle in this set into the pad, heat, and try to press the needle through the board to clear it. This technique requires a bit of skill; you don't want to solder this tool into your PCB, and if you overheat the needle, it will countersink into its own handle. We treat them as a last resort, and they're usually effective. Be aware that only the smallest of the tools in this set is actually of any use; the rest are too large to fit nearly any of the through-holes we use (and those larger ones are easier to clear with wick anyway). So you're paying for eight tools, seven of which will never be used.
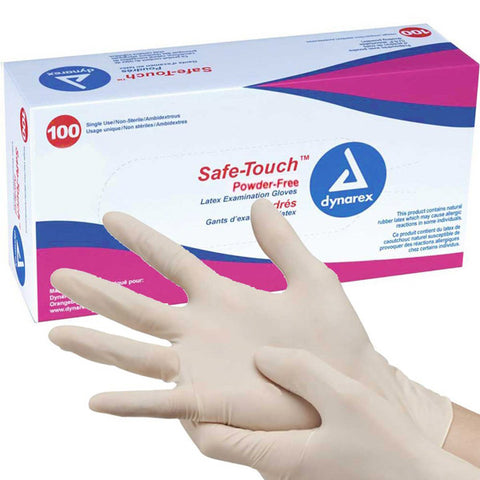
We go through a box of these latex gloves every couple months. They're perfect for keeping solvents off of your skin when you're cleaning PCBs. 
The Aven 17010 Adjustable Circuit Board Holder is a great way to improve the build experience. It raises the work surface, reducing back and eye strain. It adjusts from large to small circuit boards easily. It allows the board to be easily rotated top-for-bottom to confirm component position. See also the Toulour "third hand" tool below.

We've finally found a wire stripper that works with the very fine wire we use on capsules and inside microphone circuits: the Klein Tools 11057 Kurve Wire Stripper/Cutter. For years we've been recommending using a razor blade to score wire insulation, but this Klein 11057 is 10 times faster.
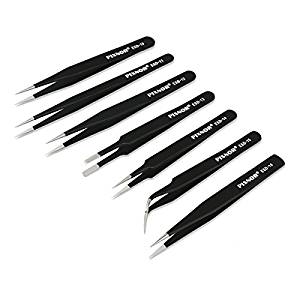
Fine-tipped tweezers are my second-favorite non-obvious DIY electronics tool (after the above magnifying glass). ESD-safe tweezers are useful for moving and placing components you don't want to risk zapping with the static charge in your finger... and for dropping tiny M1.6 metric machine screws into place in a way that fat fingers (or, really, even skinny fingers) just can't manage... and for reaching into tight spaces to grab the tiny protruding end of a wire that needs to be pulled through... etc.
Said another way, these things are indispensable, and cheap too. This is a multi-piece set of ESD-safe tweezers for under $15.
If your tastes run toward imported precision tools that cost 10 times as much, we recommend the Wiha 44501, which we personally use and admire.
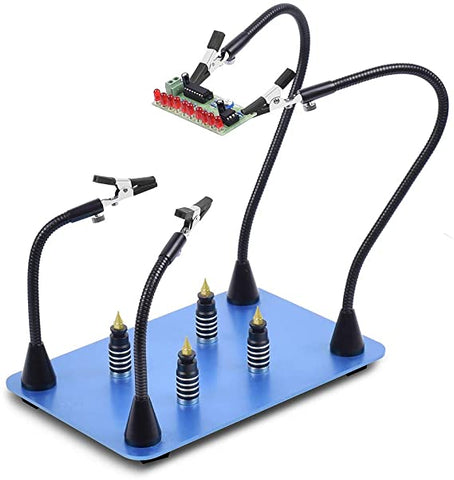
At the end of a long day at AES a couple years ago, we were lamenting the sorry state of so-called "third-hand" tools. The alligator clips' teeth don't line up, so they can't grip a component lead. The clips spin on their mounting posts. The joints are difficult to maneuver and rarely hold position. Honestly, they do more harm than good, but sometimes you have to fight with it because you literally need a 3rd hand.
So, we designed a better tool: gooseneck arms, high-quality clips, heavy base to prevent tipping, better maneuverability / longer arms, and so on. I had a clear vision of what this thing would look like.
Its value was so blatantly obvious that I realized it couldn't possibly be a new idea. Surely, someone had already invented it.
I was right. A company called Hobby Creek made exactly what I'd imagined. But the arms were too stiff, and although we bought one, I end up using it only for staging component photos for the DIY manuals.
Instead, I'd recommend this magnetic third-hand tool, which has a steel base that offers even better configurability / adjustability, and the gooseneck arms are less stiff.
Do you have a tool or other product to recommend? Please get in touch and tell us about it!